Enlarging and Reducing a Pattern by Hand
By L.S. Irish
Not every pattern or drawing that you find will already be the exact size that you need for your carving project. In fact, very seldom does the pattern artist give you a design that is “just right” for what you current wood working project. Here is a simple technique for enlarging and reducing any design to perfectly fit your wood’s dimensions. Let’s begin with choosing a design that you might wish to carve.
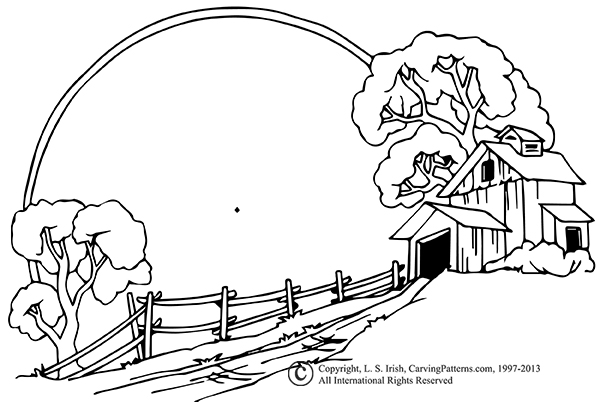
This country landscape might become an large entry sign with your family’s name carved within the circle or it might be just the right design for a small spice box in your kitchen. Whatever it’s final use you will probably need to adjust the size of the design.
Calculate the final size the pattern will need to become. Our pattern will print to a size of 8″ by 11″ and the project surface may be 4″ by 6″. The pattern will need to be reduced to one half it’s original proportions.
On the original design create a grid work that is 1/2″ by 1/2″ using a pencil and ruler. Starting in the lower left hand corner number each square working upward to the top left corner. Return to the lower left hand corner and again number the squares working toward the lower right corner. On a clean sheet of paper create a grid work that is 1/4″ by 1/4″, this paper will become your new design. Repeat your numbering system.


As you work back and forth from the original to your new drawing the numbering system will be a reference for which square you are transferring. In the image above I am focusing on the square that is up four rows from the lower left corner and then to the right five squares.

Working one square at a time draw in the lines to your new reduced design. Note in the image above that one square has been highlighted on both the large and small image. There are two arches in this square. The top one enters the square at the half way point along the top border line. The arch is finished about one third of the way down into the square. Here the second arch begins and then exits the square about 1/4 of the way from the left on the bottom border. Where you may not easily be able to sit down and draw a complete landscape scene anyone can quickly and accurately copy these two arches into the appropriate square on the paper!
By copying the design one square at a time soon the entire pattern has been reduced and is now ready for tracing.
You may have noted that our pattern has a circular arch as part of the design. To learn how to make accurate circles and ovals for your wood carving go to How to Make a Circle.
If you have enjoyed the free wood carving design included with this instruction sheet you may wish to stop by our pages on:
Introduction to Landscape Relief Carving
Roofing Ideas
Boards and Bricks
Field Stone and Flag Stone
Barn Example Drawings
Carving Sample One – Rough Out
Carving Sample Two – Detail Work
Carving Sample Three – Finishing Details