Step 7 Accent the sides of the pupil with black
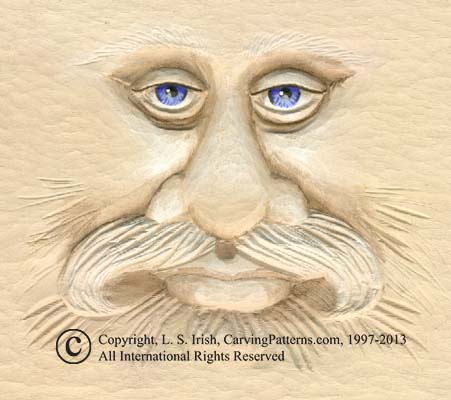
Because my eyes are fairly large I have added a thin line of black along the sides of the pupil, don’t completely encircle the pupil. These small arcs along the sides of the iris add to the shadwoing from the upper eye lid and eye brow ridge.
Step 8 Add the blush to the upper eye lid creases, the cheeks, and the tip of the nose
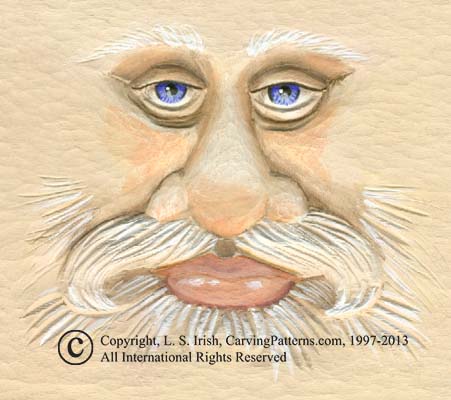
Since we have worked to create realistic like eyes in the carving, let’s take a moment to complete that effect by adding blush and lip coloring.
I’ve added the blush to the cheeks and the tip of the nose. There is also blush along the side of the nose near the eye corners and on the bottom side of the brow ridge – just above the upper eye lids. Blush is often a shade of orange, not pink, and is applied as a wash coat of one-half water to one-half paint. Lips are also a shade of orange or orange brown with the upper lip slightly darker in tonal value, as it is shadowed by the overhang of the nose, than the lower lip. A touch of thinned white to the lower lib gives that mouth a glossy look.
Step 9 Wood staining the finished carving
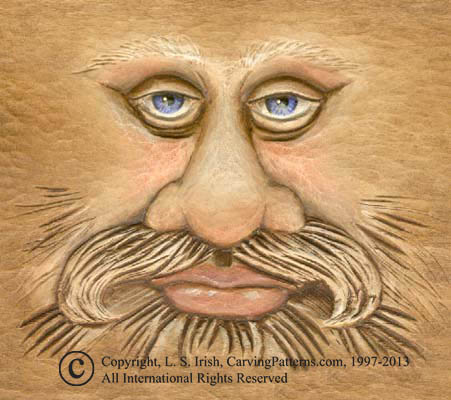
Since this sample was worked on a basswood carving, to complete the work I have allowed the coloring to dry overnight. Two to three light coats of polyurethane or acrylic spray seal is applied to seal the coloring. After the spray sealer had dried completely the wood carving was stained using a medium umber brown. This staining added the last dark shadowing around the half-sphere of the eye ball as well as accents the v-gouge lines in the beard and mustache. When the stain had dried, several days, another light coat of spray sealer was applied.
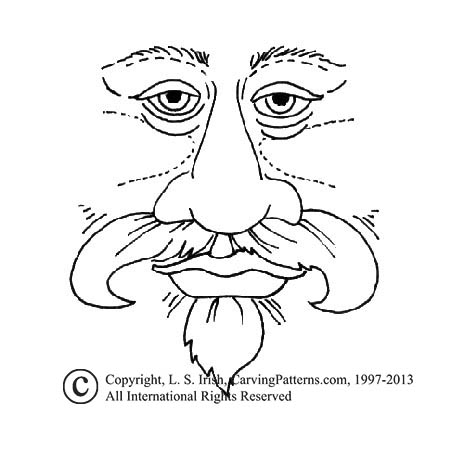
This pattern is offered courtesy of Art Designs Studio and for Personal Use Only.