Lora S Irish teaches, in this free wood carving project, how to burnish your carving wood to give a smooth, soft sheen finish.
Basics to Painting
Project One – Burnishing
 In Steps to Success we discussed a number of methods to pretreat your wood before you begin the painting steps. But not all pretreatments steps require oil, primer, or sealer. This Whittle Fish for some reason just sat on my table throughout my working steps. Its not that I ignored it or avoided it; I never came to a painting process that seemed right for this particular body.
The body shape is so streamlined, that it seemed any painting steps would take away from its simple form. So I decided to use as simple a finish as possible – burnishing – to compliment that simple shape.
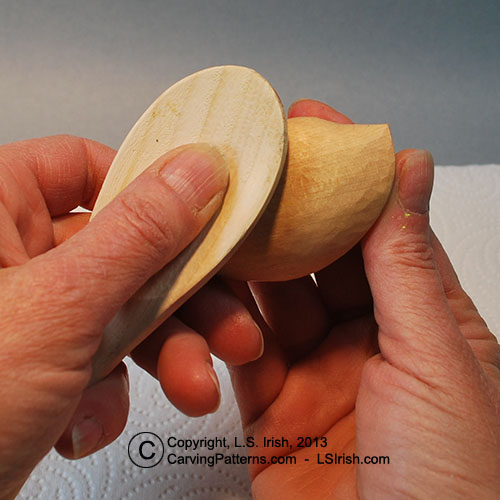
Use a small piece of wood, in this case a wooden spoon, to rub over the entire surface of your carving. Use a medium pressure. You should feel the push against the wood but your fingers and hand should not feel cramped. Rub over everything several times until your Whittle Fish has an even, smooth-feeling, soft sheen.
There is a set of clay sculpturing wooden tools that work wonderfully for burnishing and are made to get into the sharp angles and deep carved areas of your project.
Burnishing works best when the burnisher is one or two steps harder than the carving wood. So for our practice pieces in basswood the poplar wooden spoon works very well. If I were burnishing walnut I would use a piece of maple. This process is wonderful for any carving that will be heavily handled, it just feels great in your hand.
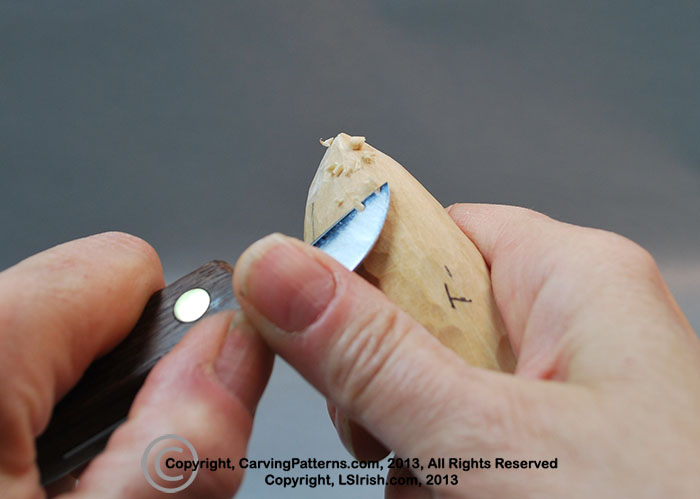 Our burnished whittle fish is worked from a 1 1/4″ x 1 1/4″ x 3″ basswood block using a bench knife. After the fish body has been rough carved to its final shape, recarve the piece using small, shallow, shaving cuts by laying the knife’s cutting edge at a low angle to the wood.
Shaving with a bench knife creates very tiny, small planes across the surface of the wood, making sanding unnecessary.
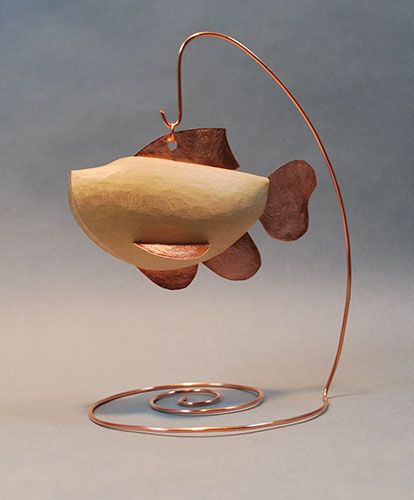 Next, burnish the wood using a wooden spoon, a scrap piece of basswood, or the handle of your bench knife. With a pencil mark the copper fin placement. Cut, file, and insert your copper fins. Your burnish fin is ready to display.
- Wood Carving and Burning Painting Supplies
- Paint Kit Supplies
- Steps to Success
- General Techniques used in Wood Carving Painting
- Burnishing your Wood Carving
- Simple Blending with Acrylic Craft Paints
- Acrylics over a Primer
- Simple Dry Brushing
- Dry Brushed Acrylics over Oil Based Stains
- Marbling and Splatter Painting
- China Painting with Acrylics
- Vintage Painting with Acrylics