Journaling is a hot hobby today, giving pyrographers a wonderful leather surface for our sepia designs. Creating faux deckle edged paper adds to the unique quality of our wood burning journals. Let’s discover how very easy it is to make your own deckle edged leaves and writing sheets.
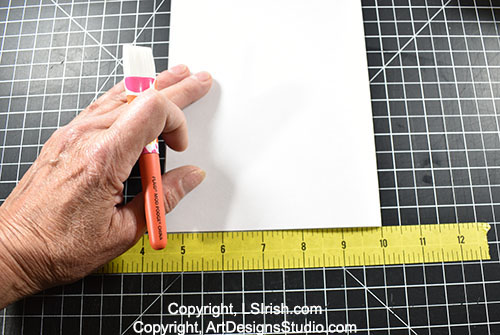
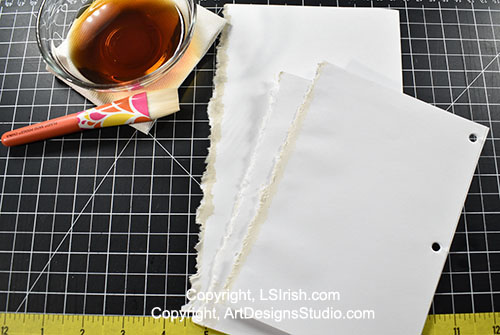
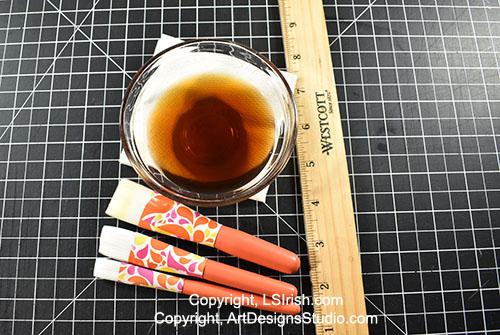 For our sample pages, you will need a cutting mat, ruler, a 1/4 cup of black coffee or tea, 1/2″ wide soft-bristle brush, and plain computer paper.
Please note that most papers, from thin vellum to heavy-weight watercolor paper, can be hand deckled. You will need to allow more dampening time to fully saturate the thickness on heavier papers.
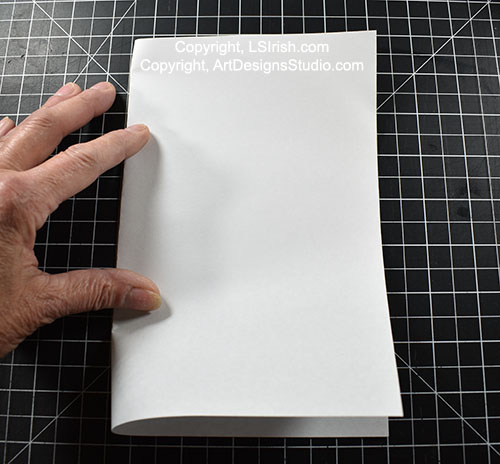 The size of journal paper is determined by how many times you fold an 8 1/2″ x 11″ standard sheet. JetPens.com describes the sizing far better than I, so please visit their page. For our sample pages I am using one center fold along the 11″ side, giving me 2 – 5 1/2″ x 8 1/2″ leaves. Gently rub your thumb along the folded side to create a crisp fold line.
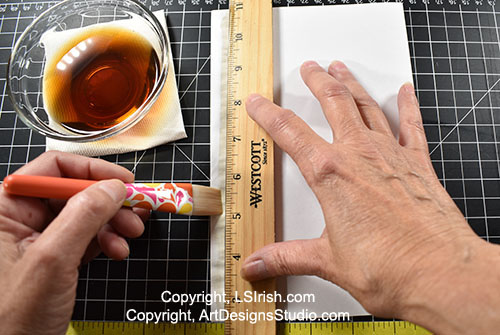 Place your ruler along one edge of the folded paper.
If you are making a coptic stitch, leaf book lay the ruler on the open side of the paper. This deckles the outer edge of a two-page folded paper.
If you are using a hole punch to create individual pages, place the folded edge on the ruler side. This deckles the folded edge of the paper, removing that fold and creating two independent pages.
With a 1/2″ wide, soft-bristle brush, loaded with hot coffee or tea, wet the 1/2″ exposed edge along the ruler’s edge. I usually do two coats with a few moments between coats to allow the paper fibers to dampen well.
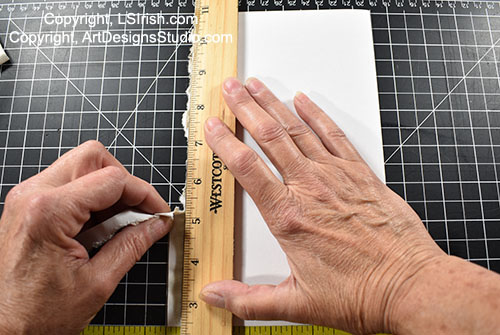 Still holding the ruler at the 1/2″ margin, use your fingers to gently lift and pull away the coffee-coated margin edge. This is a lift and pull, not a lift and tear motion. After the deckle is created the paper will measure approximately 5″ x 8 1/5″.
Pulling the damp margin edge away from the ruler leaves wonderful, small, thin fibers of paper along our deckle.
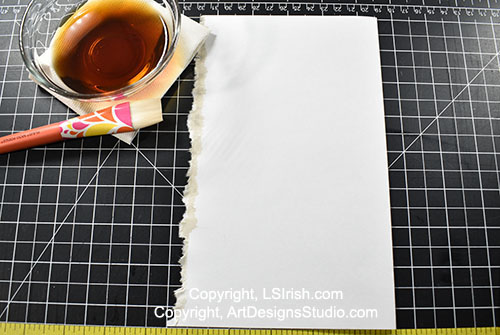 The coffee or black tea stain the deckle edge, adding to the vintage look of your pages.
 Of course, you can use clear, clean water to keep your deckle the same color as the main body of the journal paper. You can also thin acrylic paints with water to make pink, blue, or multi-colored deckle trim.
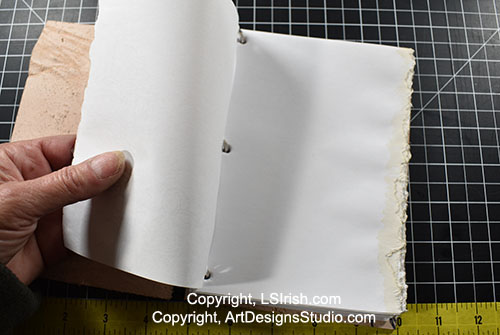
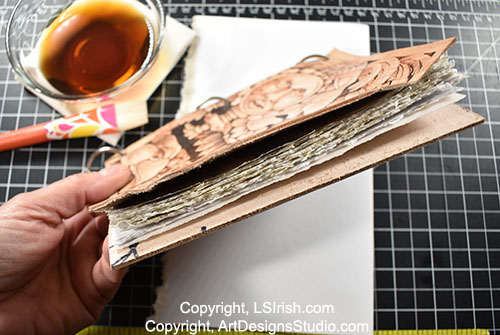 After your paper has dried, its ready to insert into your pyrography leather journal covers. Deckle edged paper will be slightly ‘thicker’ along the deckle then it is along the cut, stitched side of the page.
Once dry, you can add gold mica powder or a rub-on gold paste to the pulled edge of the deckle to gild your paper.
 And, it’s ready to use …
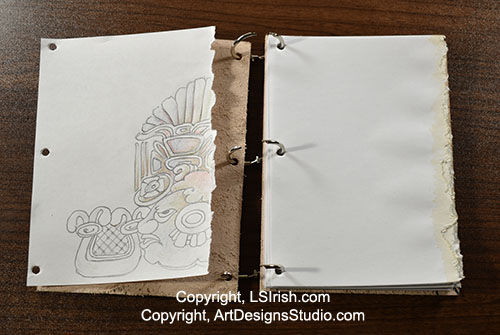
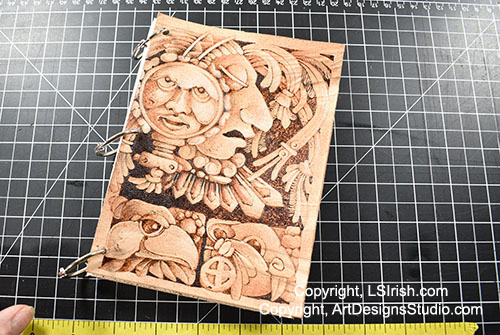 This is my pyrography journal cover. It measures 5 1/4″ x 7″. I trimmed my deckle pages down to 5″ wide (left from the deckle steps) by 6 1/2″ high to fit my leather scraps.
(Full tutorial is on its way!!!! Please check back!!!!)
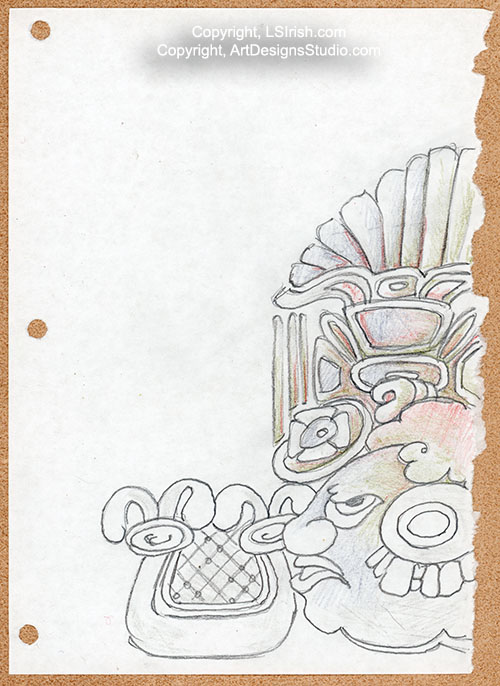
 Another FREE Lora Irish pattern!!!