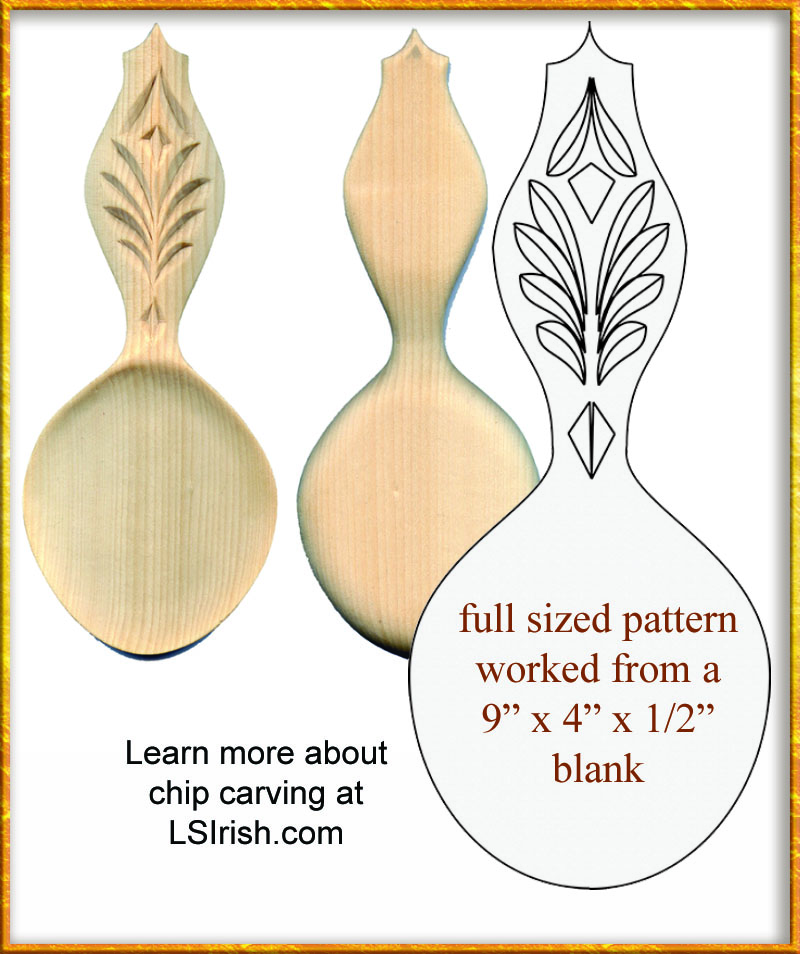
Chip Carving Wooden Spoons – Free Pattern
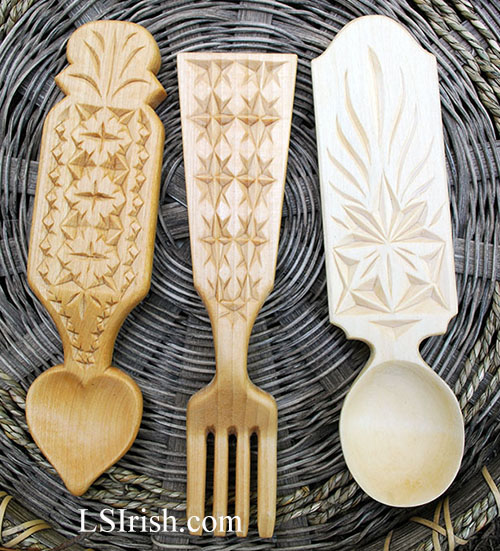
 Classic straight-handled, hardwood wooden spoons are a fantastic theme for the wood carver. But there is so much more than you can do with that handle as chip carving, oven rack hooks, and relief carving.
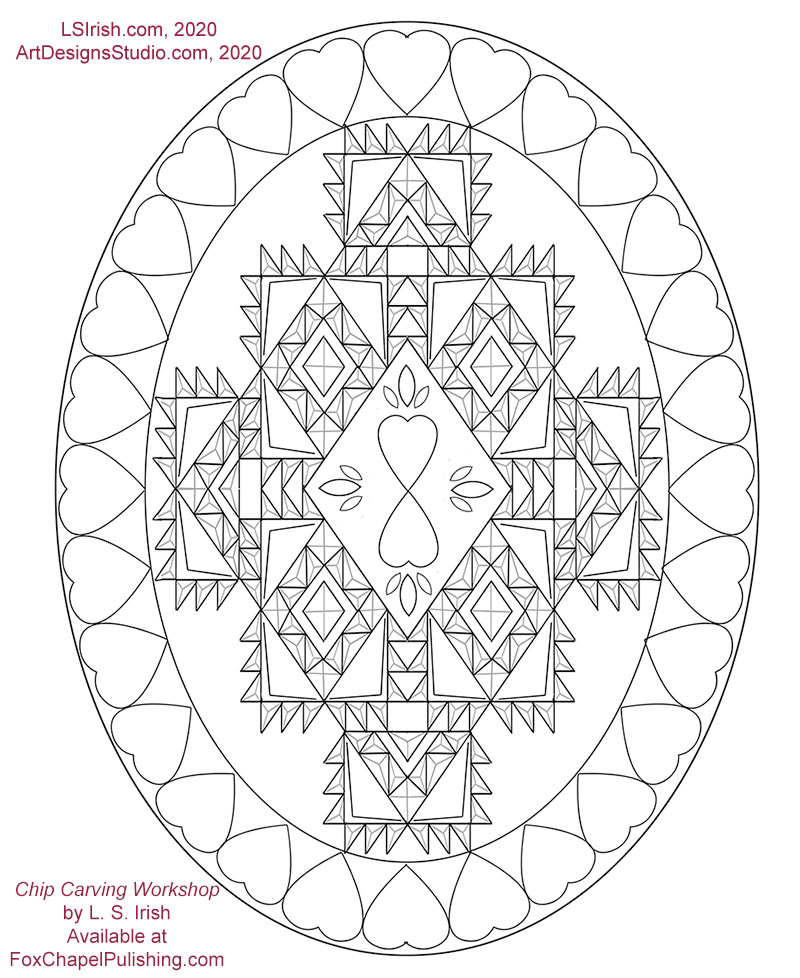
Click on the images for a full-sized free spoon carving pattern.
 Chip Carving Seminar by Lora Irish
Chip Carving Seminar
Chip Carving Supplies
Chip Carving Graphed Patterns
Chip Carving Hand Positions and Grips
Chip Carving – Triangles and Square Chips
Chip Carving – Straight-Wall Chips
Chip Caved Game and Chess Board
Chip Carving Sampler Pattern Layout
Chip Carving Common Mistakes
Chip Carved Shortbread Cookies
 Wood Carving
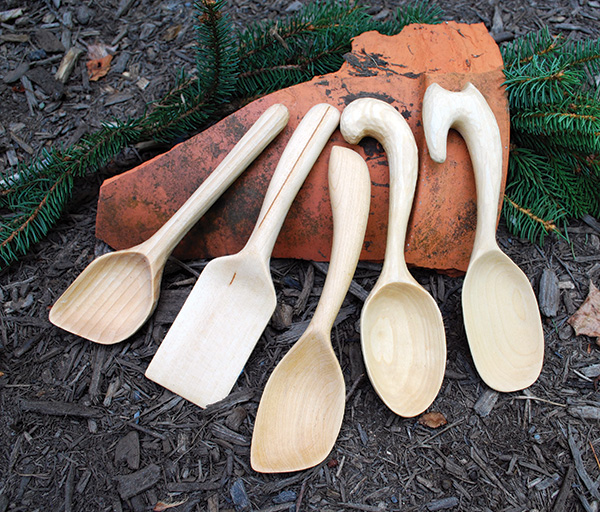
Four Methods to Cutting a Wooden Spoon Blank
Spoon, Fork, and Ladle Styles for Wood Carving
The Art of Spoon Carving by Lora S. Irish
Wood Carving a Basic Wooden Spoon
Wood Carving Wooden Spoons
Wooden Spoon Burning Patterns
Beginner’s Wood Carving, Spoon Carving
Wood Carving a Basic Wooden Spoon
Styles of Wood Carved Spoons
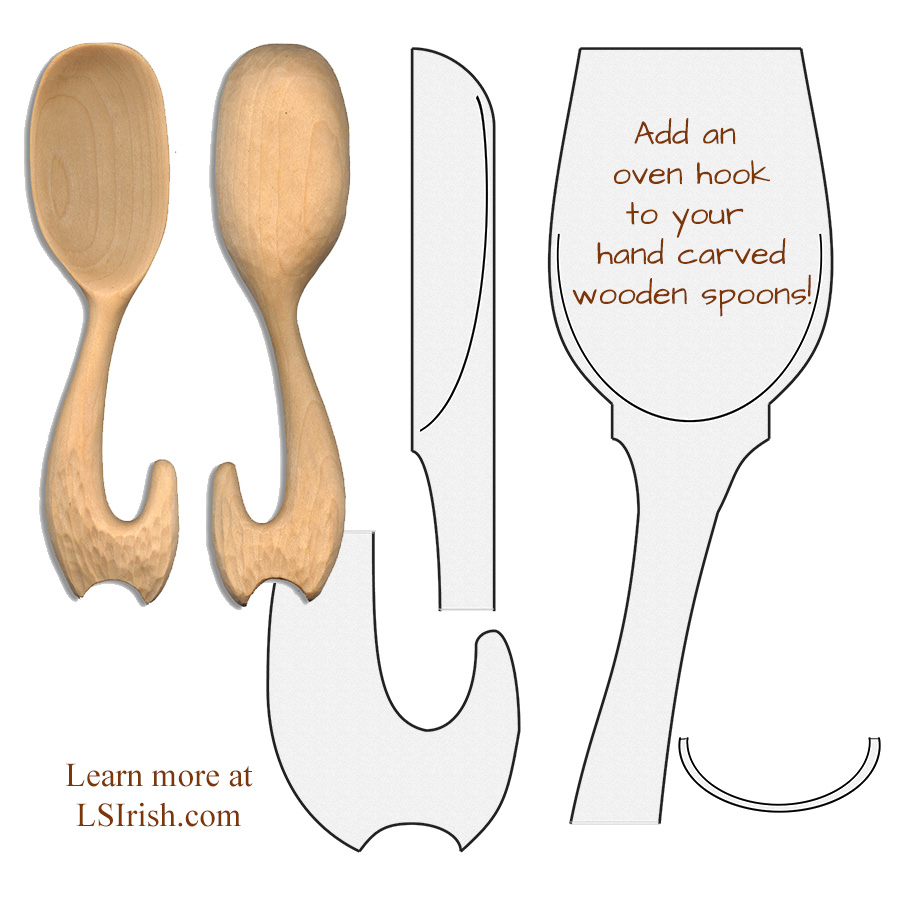 This oven rack spoon handle is one of the many spoon patterns in Lora S. Irish’s book, Art of Spoon Carving, available at Amazon.com.
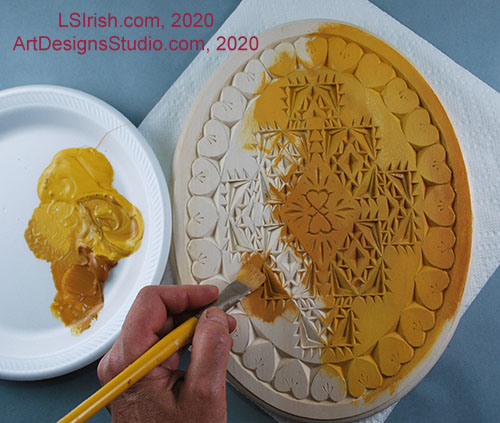
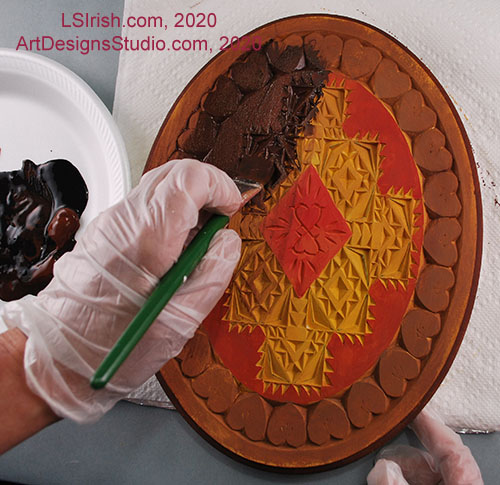
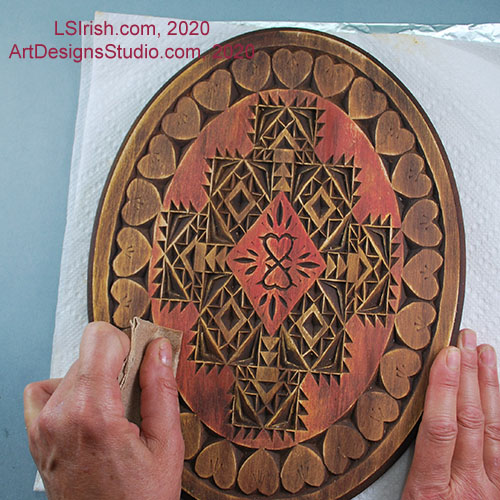
For your next new wood carving reading about chip carving, please see Lora Irish’s book, Chip Carving Workshop on Amazon.com.
This post does contain affiliate links, which helps us keep LSIrish.com free to you.

