2021

Lora S Irish Books & Publications


Classic Carving Patterns – Our original wood carving, wood burning, and pattern website.
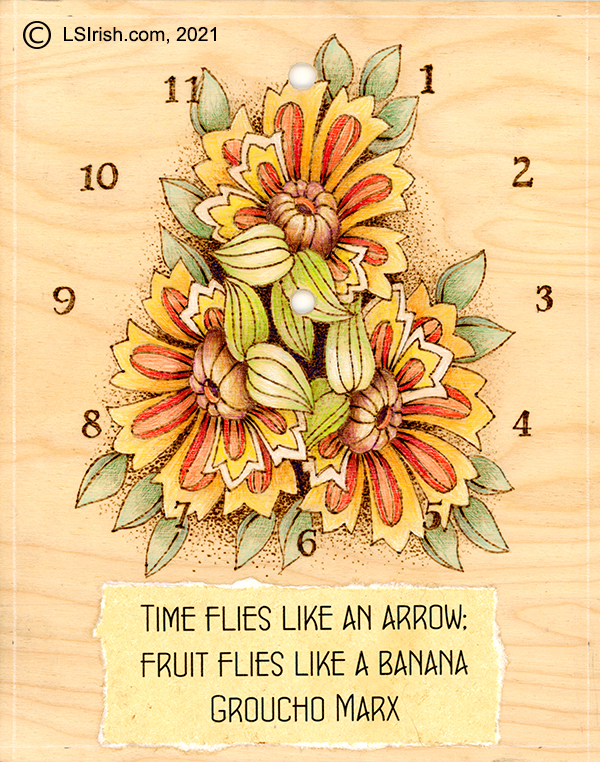
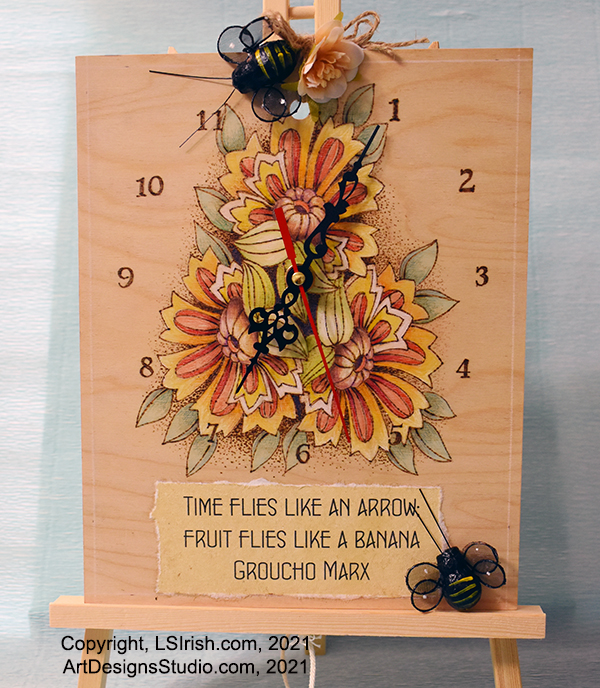
Art Designs Studio – Original, exclusive, and new patterns and line art by Lora S. Irish
LSIrish.comDesigns Online Since 1997! Free 0nline projects, tutorials, & step-by-steps

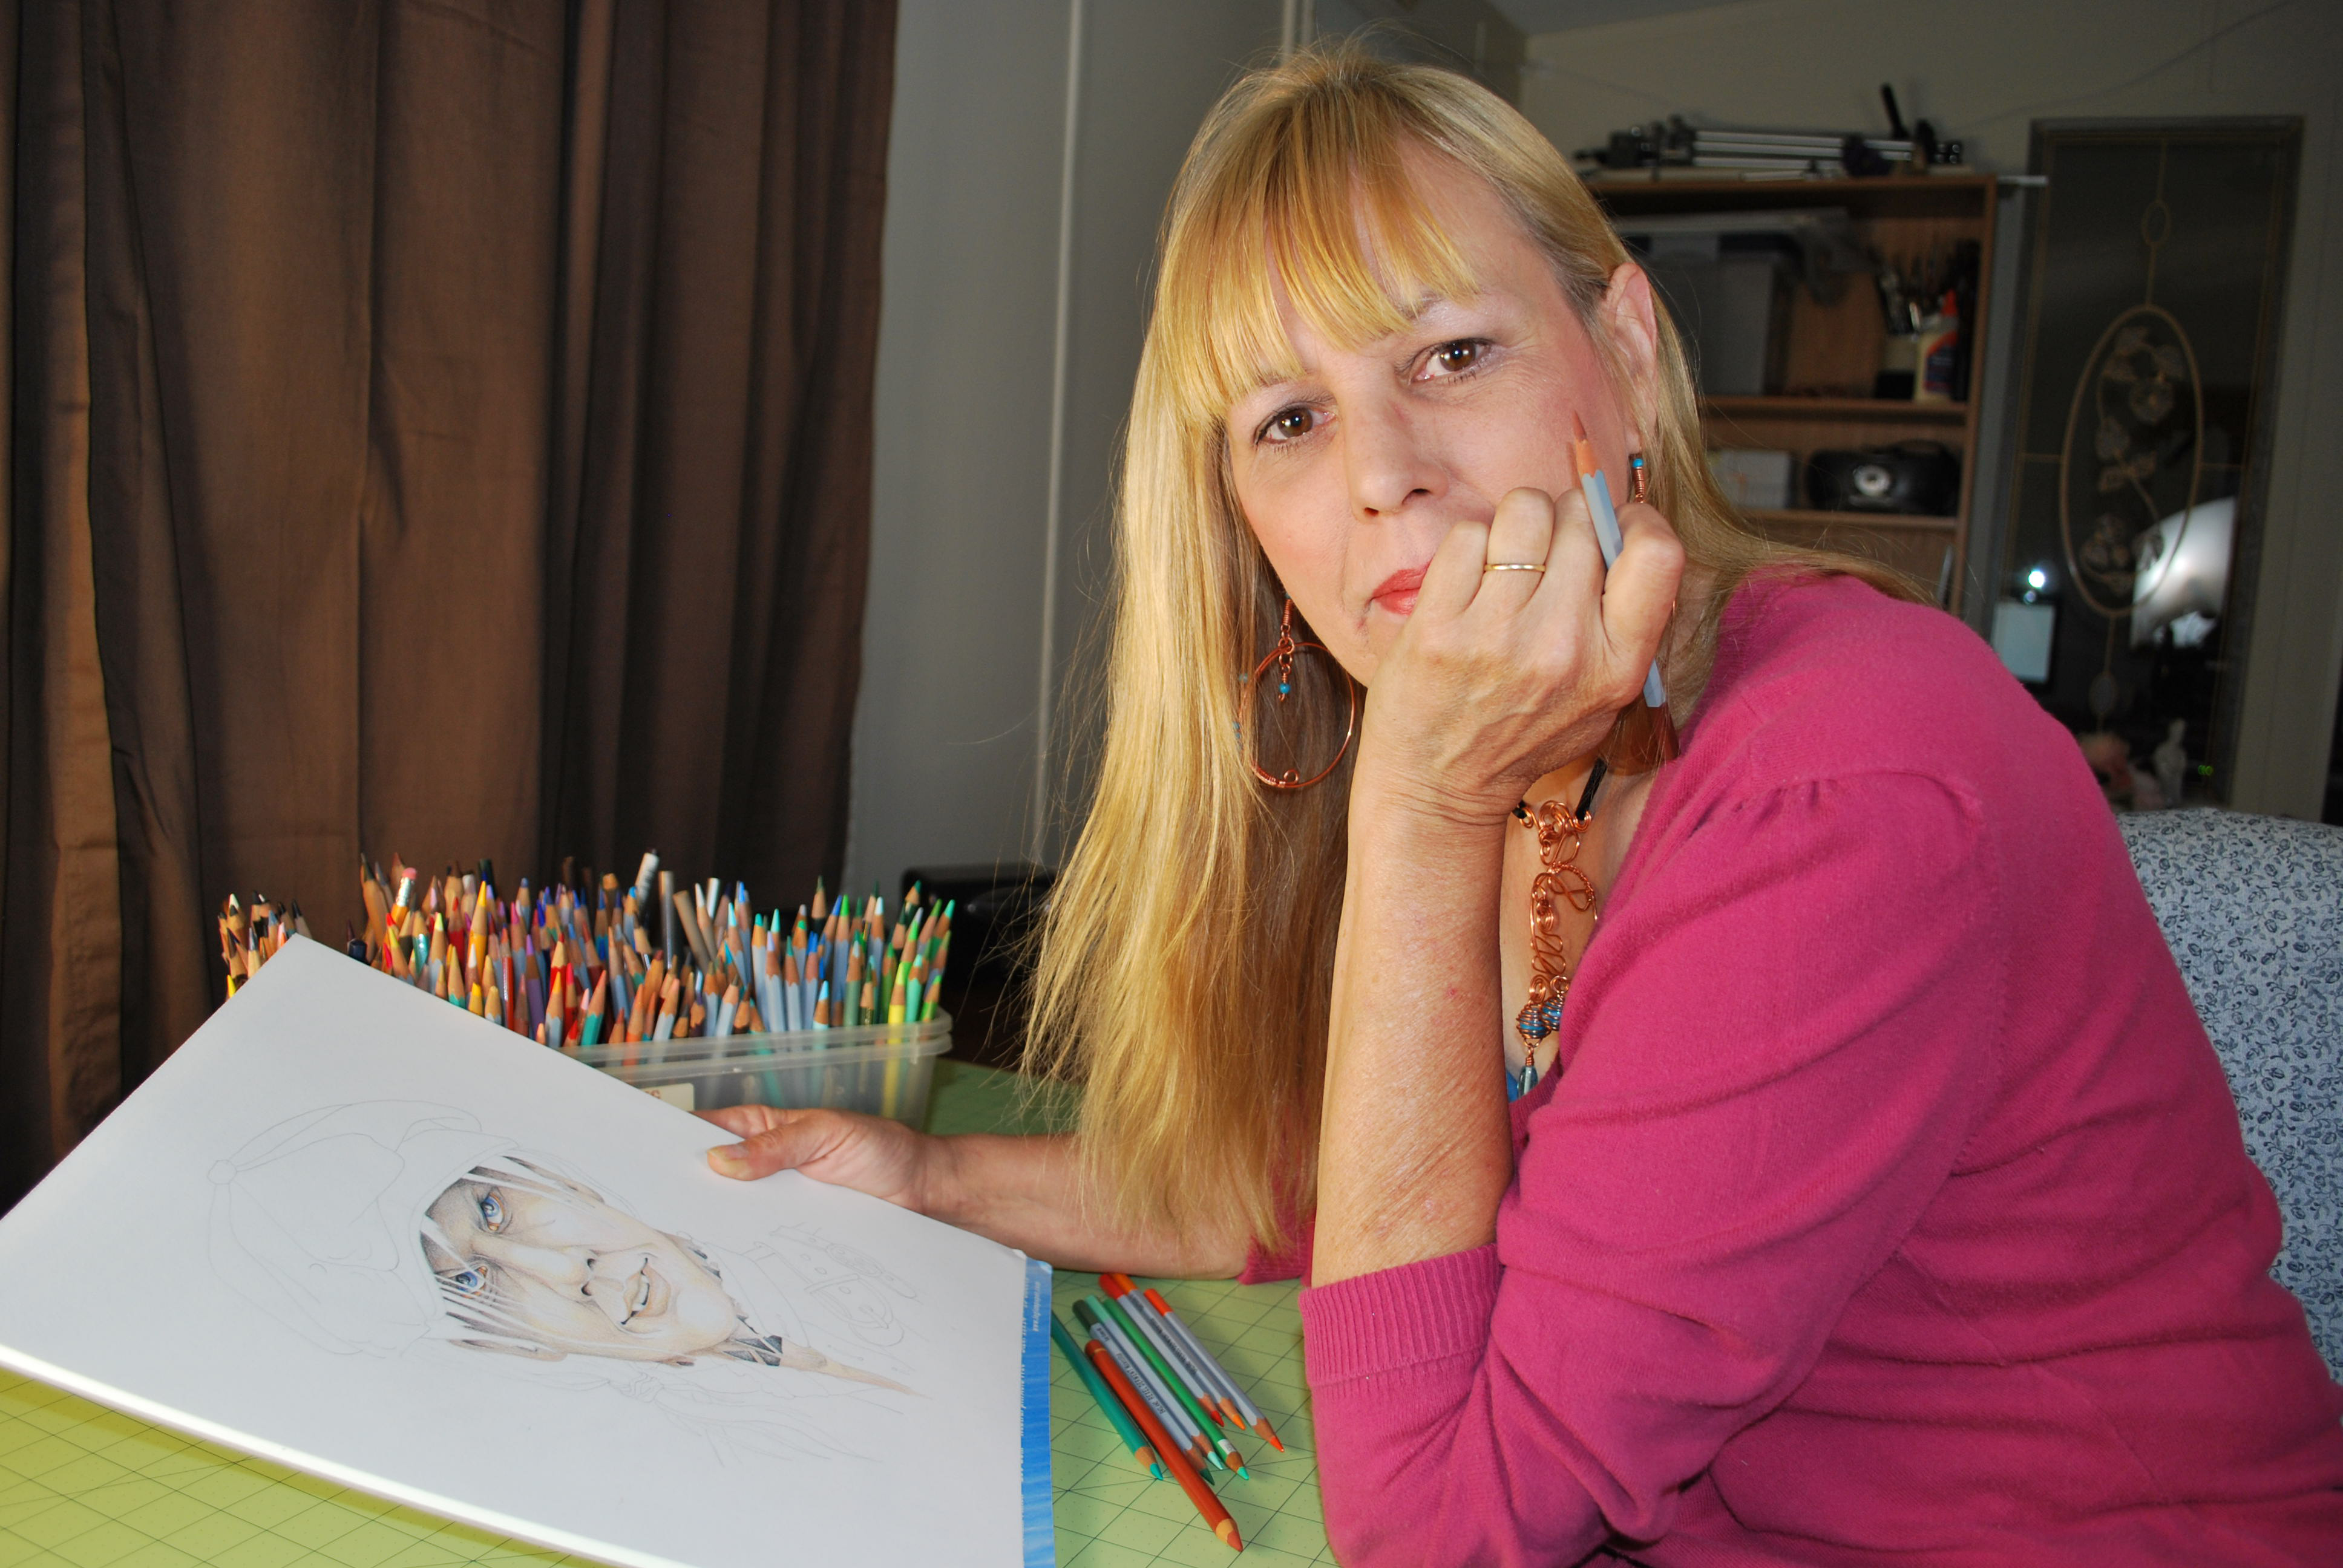
Trained as a Fine Artist at the University of Maryland, twelve of Lora Susan Irish’s pure breed dog oil paintings have been published as limited edition art prints. Her art has been featured on the front covers of “Doberman Quarterly” 1991, “Samoyed Quarterly” – all four issues of 1991, and “Shetland Sheepdog Quarterly” 1991 published by Hoflin Press.

She is the author of a series of woodcarving, pyrography, and craft pattern books.  Currently Lora has 32 publications in print.

Her first in-depth wood carving book is Classic Carving Patterns, published by Taunton Press, in 1999, publisher of “Fine Wood Working Magazine”.  Other popular craft and hobby titles including the Great Book of Dragon Patterns, Relief Carving Workshop, and The Art and Crafts of Pyrography,  and Classic Chip Carving published by Chipping Away, Inc.  All of Lora’s books are available at Amazon.com, the best price anywhere on the web.

L. S. Irish shared the Woodcarver of the Year – 2007 with Ed Gallenstein, editor and publisher of “Chip Chats Magazine”, for her support and teaching efforts in the wood carving community. Irish’s free online tutorials can be found here on her blog, LSIrish.com,  full of in depth step by step, how to free lessons on wood carving, woodburning, pyrography, and other great crafts.

Lora and her husband, Michael, took their home based art studio, Art Designs Studio established in 1984, to the Internet by creating CarvingPatterns.com in 1997 and continue to hold the copyright on this domain and all of the Works which it contains.  All images carrying the copyright of CarvingPatterns.com remain the sole property of Lora S. Irish.

Lora’s arts and crafts teachings can be found on her two websites. LSIrish.com has hundreds of pages of Free Online Tutorials and Projects.  ArtDesignsStudio.com, her  line art patterns and drawings site, features line art designs created exclusively by Lora for craters and artisans.  Lora S. Irish owns the copyright on all material related to these three websites.  ArtDesignsStudio.com, as of 2013, offers more than 2500 pattern in various subject categories, including North American Wildlife,  Celtic Knots,  Dragons and Mythological Beasts, Nautical and Sea Life, and So Much More! Lora continues to provide new patterns and new inspiration to many artists.

Working from her rural mid-Maryland home studio, Lora S. Irish is currently exploring new crafts and hobbies including wire bent link jewelry, metal sheet jewelry, piece patch and applique quilting, gourd carving, gourd pyrography, and leather crafts.

Books & Publications by Lora S. Irish

To name just a few favorites …

Wood Spirits & Green Men  
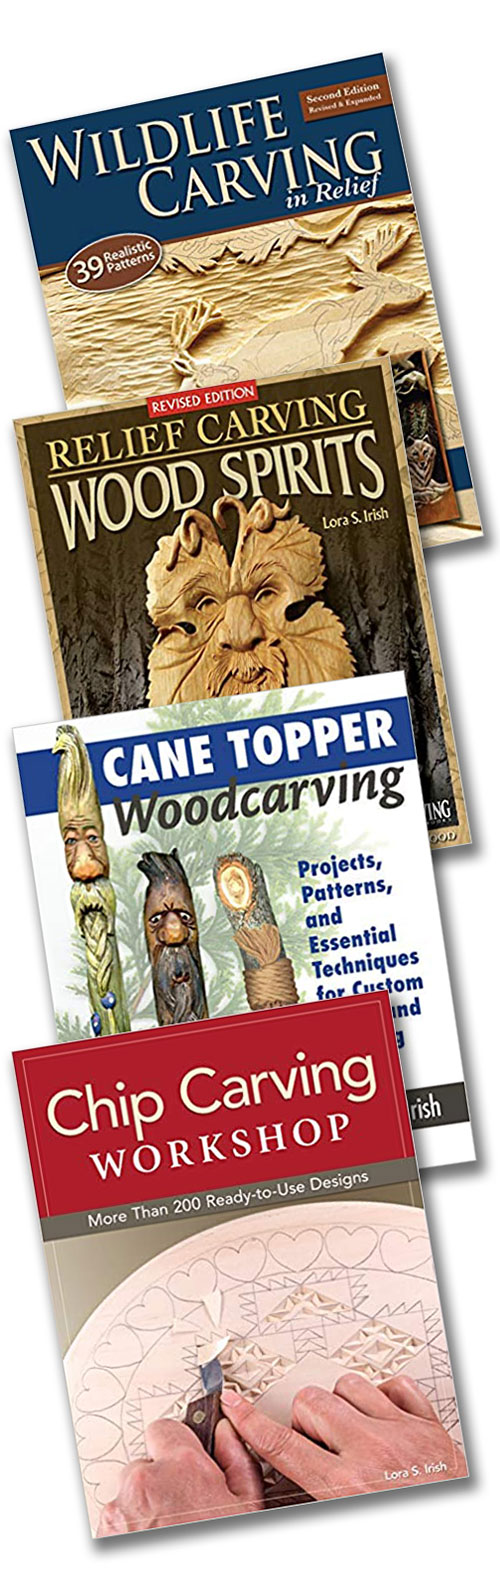
Wildlife  Carving in Relief
Chip Carving Workshop
Essentials Rib Basket Weaving
Wire-Wrapped Jewelry Techniques
Relief Carving Wood Spirits
Finishing Techniques for Wood Crafters
Crafting with Gourds
Landscape Pyrography Techniques & Projects
The Art of Spoon Carving
Cane Topper Wood Carving
Little Book of Pyrography

Lora S Irish Books & Publications Read More »

Working with Pure Color Hues

I have been working on three brand new e-projects for my pattern website at ArtDesignsStudio.com and in today’s work of one of these new e-projects I realized I had a set of images that taught the power of working with pure color hues.

I’d like to share these images with you !!!  Please click on any image for a full-sized photo.

We work with three types of color in relationship to their tonal values – pastels, pure hues, and jewel tones.

Pure hue = a color that has not been altered by the use of white, gray, or black as red, yellow, and blue.
Tonal value = the amount of white, black, or gray in a color as a pale gray tone to a dark gray tone.
Pastels = pure color hues that have white added as pink, pale yellow, and baby blue.
Jewel tones = pure color hues that have black added as maroon, deep gold, and gunmetal blue.

Tonal values in pyrography are what we use to shade and contour an area of the design, working in sepia (brown) tones.

1  The images below show my pyrography shading for one of my upcoming new projects.  I am working on birch plywood using my Colwood  burner with my loop-tip pen and a soft, scrubbie stroke.  The image to the right is the gray scaled photo of this shading which shows the black tonal value range.


2  After my shading was worked I added my fine line doodle detailing using my ball-tip pen at a medium-hot setting.  Part of that detailing step included creating some solid black areas in the design.  Again, to the right is the gray scale image, showing only the black tonal values.  All tonal values to this point have been specifically created with the tool tip and burner temperature setting in my pyrography.


3  But what happens to that pyrography tonal value work when colored pencils are added to give individual coloring to the design.  In this photo you can see the added color pencil work, using artist quality pencils which contain little or no chalk base. Inexpensive colored pencils, or school quality sets often contain chalk as the base filler which adds a white, gray, or black toning to the color hue.  Artist quality pencils use either a wax base which makes the blending of the colors easy without changing the color tones or if you are using watercolor pencils no base at all.

I am working with pure hues – red, yellow, and blue or secondary and tertiary mixes of those hues.  I have used some white as shown in the small left-side tear drop accents and I have worked a graphite pencil shading in the background area directly to the birch plywood.

4  Now let’s compare these three stages of work.  Stage one is the simple pyro shading, stage two is the pyro detailing, and stage three is the addition of pure color hues using colored pencils.  Now compare the gray scale photo of stage two to stage three and you will see that the colors have added very little to almost no tonal value to the work.

This means that all of my pyrography tonal value shading remains unchanged and therefore totally in my control even when I am laying colored pencil over the work !!!!

OK … I’m off to work on your new e-projects but will get back to you if I come across another ‘quick tip’ idea.

Thanks you ~ Lora Irish


Working with Pure Color Hues Read More »

Free Pyrography Clock Pattern

This pyrography project uses a 1/8″ x 8″ x 10″ basswood plywood plaque as the base media for my newest kitchen clock work.  It has been a fun project that’s included wood burning, colored pencil art, and collage applique, plus a little bit of bling with twine, silk flowers, and two black bumble bee accents.

free pyrography clock pattern

Even though the 1/8″thick plywood can warp with high-heat burning or high-humidity conditions, it is so light weight that the small quartz battery clock hanger fully supports the project – you can hang this anywhere.

My finished painted daisies pyrography clock is show displayed on a small wood easel and, while meant to go into my kitchen is still sitting on my computer desk.

Your free Lora S. Irish pattern is just below the supply list.


Supply list: Amazon.com links

Walnut Hollow Creative Woodburner Wire Tip Wood Burning Tool
(Note – this Amazon link shows the Creative tool on sale at 42% off as on Feb. 11, 2021)

8″ x 10″ x 1/8″ basswood plywood
(This link offers a 15 sheet pack of 12″ x 12″ x 1/8″ sheets)

Saral 12″ x12′ Graphite Transfer Paper

Quartz Clock Movements with Black Hands

Handmade Antique Deckle Edge Blank Paper – A4 Size Package of 50

Scotch Quick Drying Tacky Glue

Zenacolor, 120 Watercolor Pencils, Numbered, with Brush and Case

2 – black bumble bee picks (I found mine at Michaels.)

Easel Tabletop Painting Easel with Canvas Sets(4 Packs) Wooden Art Table Easel Stand


The featured quote: 

Time flies like an arrow: fruit flies like a banana. ~ Groucho Marx


Free for Personal Use Pattern:

free pyrography clock pattern

For more floral clock ideas please visit ArtDesignsStudio.com, my pattern website.
Henna Tattoo Patterns 1

Henna Tattoo Patterns 2

Floral Clocks

Step 1:  Prepare your wood plaque by lightly sanding the wood with 220- to 320-grit sandpaper, working the sanding strokes with the grain of the wood.  Remove all sanding dust.  Using graphite paper, trace your pattern.  Using the ball-tip pen and my Walnut Hollow Creative tool, I burned the general outlines of the daisy pattern, numbers, and quote onto my wood plaque.  I used a medium-hot setting of 6 – 8.

When the outline is completed, erase any graphite lines or pencil lines that remain from the pattern tracing step.

free pyrography clock patternStep 1


Step 2:  I was not happy with my lettering burn, but very pleased with my outline work.  My solution was to create a collage paper piece to add to the plywood that would carry my quote while covering up my wood burned letters.  I chose a heavy, yet flexible antique paper that easily went through my home computer printer.  You can see that collage piece temporarily placed over the burned letter.

free pyrography clock patternStep 2


Step 3:  Still using the ball-tip pen and a medium heat setting of 4 – 6, I have added shading to the background area of the pattern.  Lowering the temperature a bit more to the 3 – 4 heat level, I then worked light shading into the flowers and leaves.

free pyrography clock patternStep 3


Step 4: When your burning is done its time to get out your favorite artist-quality colored pencil set.  Do a quick google image search under ‘painted daisy chrysanthemums’ for coloring ideas.

I used tones of yellow through bright red for the petals, yellow greens for the inner flower leaves, and green teals for the background leaves.  Tones of sienna, golden brown, and chocolate make up the flower centers.

Both white colored pencil and white chalk pastel pencil was used to brighten the highlights of the work.

Lay several thin lines of quick-dry tacky glue to the back of your collage paper.  Use a stiff piece of card stock to evenly spread the glue.  Position your quote to your plaque and press lightly into place.  Place a heavy book on top of the quote to press the paper evenly to the wood and let dry.

Several light coats of matte spray sealer.  The sealer protects your raw wood, colored pencil work, and collage paper.


free pyrography clock patternStep 4


Step 5:  Here’s my finished clock with the quartz clock movement inserted, bees in place, and just one fun silk flower.

free pyrography clock pattern

Hope you have fun creating your own pyrography clock!  Thanks for stopping by my blob ~ Lora

Free Pyrography Clock Pattern Read More »

Scroll to Top