Wood Carving Free Projects, Lora Irish Books
Wood Carving Walking Sticks, Introduction
 Wood Carving Walking Sticks – Adding Extras
Wood Carving Walking Sticks – Common Tree Species
Wood Carving Walking Sticks – Harvesting
Wood Carving Walking Sticks, Gluing Your Joint
Wood Carving Walking Sticks, How to Clamp Your Cane Handle
Wood Carving Walking Sticks, How to Join Your Cane Handle
Wood Carving Walking Sticks, Working with Bamboo
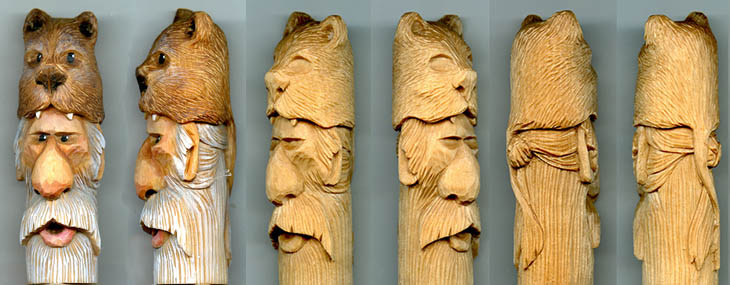
Free Mountain Man Cane Carving Pattern
![]()
![]()
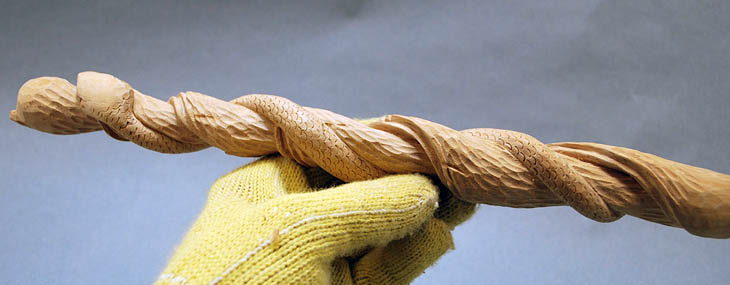
 Twistie Stick Snake Cane Carving, Day 5
Twistie Stick Snake Cane Carving, Day 4
Twistie Stick Snake Cane Carving, Day 3
Twistie Stick Snake Cane Carving, Day 2
Twistie Stick Snake Carving Free Project
Walking Stick and Cane Handle Joinery
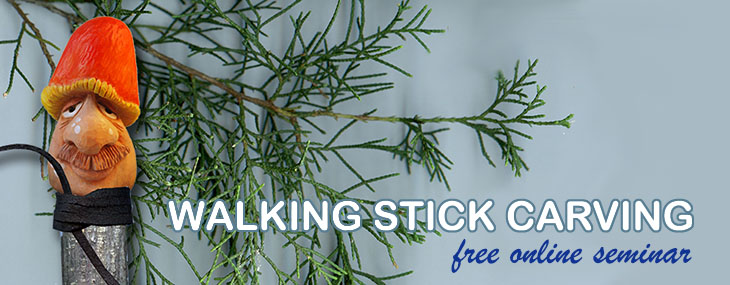
Wood Carving Walking Sticks
![]()
![]()
Introduction to Cane Carving
 The Basic Construction Used In Cane Carving
The Basic Joinery Used In Cane Carving
Adding a Leather String Grip to your Cane Carving
![]()
![]()
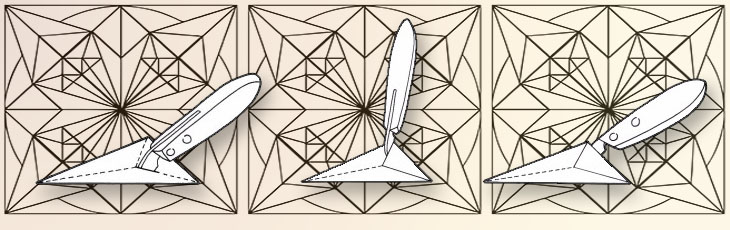
 Four Methods to Cutting a Wooden Spoon Blank
Spoon, Fork, and Ladle Styles for Wood Carving
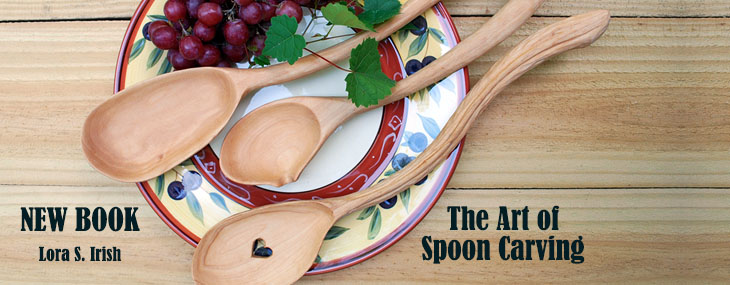
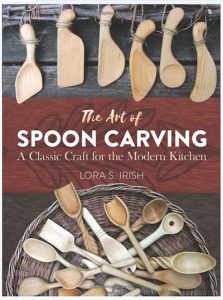
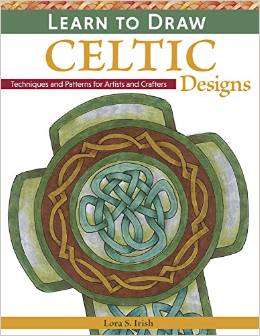
The Art of Spoon Carving by Lora S. Irish
Wood Carving a Basic Wooden Spoon
Styles of Wood Carved Spoons
Welsh Love Spoons
Welsh Love Spoons Introduction
Basic Cutting Techniques
Carving A Chain and Ball
Ball and Cage Carving
![]()
![]()

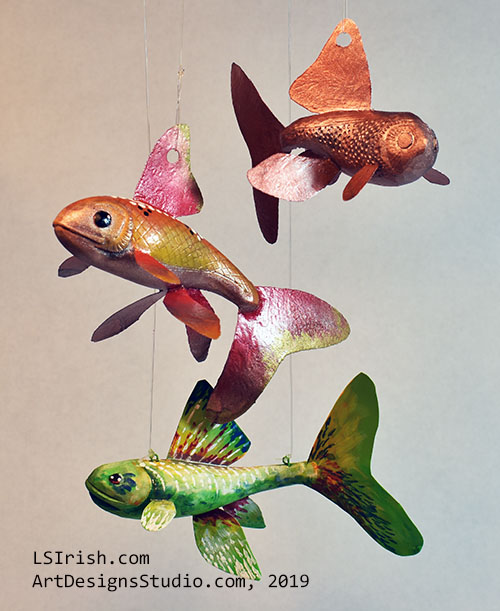
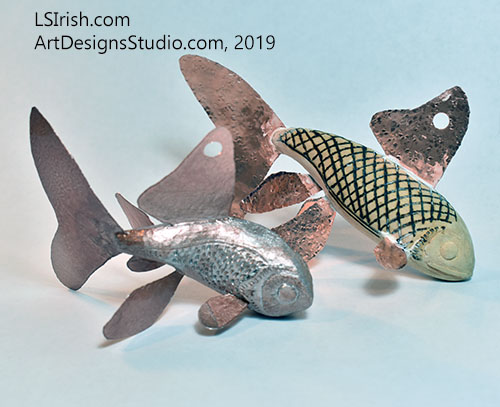
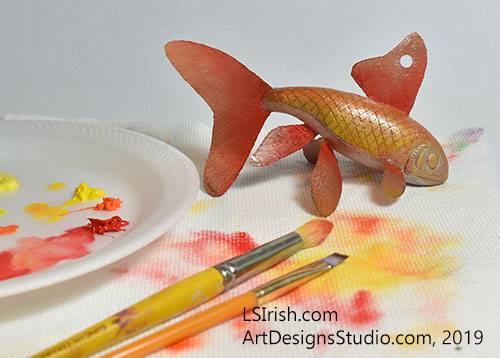
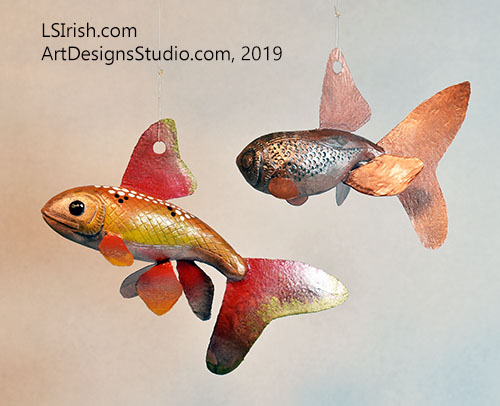
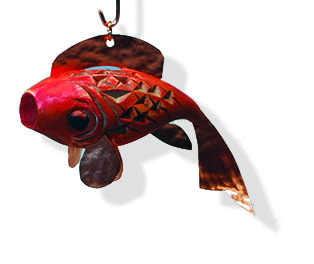
Wood Carving Fish Decoys
Sun Fish Decoy
Ice Fishing Decoy Gallery Two
Ice Fishing Fish Decoy Gallery
![]()
![]()
 Mule Deer Relief Carving Free Project by Lora Irish
Working in Levels – Mule Deer Relief Wood Carving Project
Shaping the Mule Deer – Mule Deer Relief Wood Carving Project
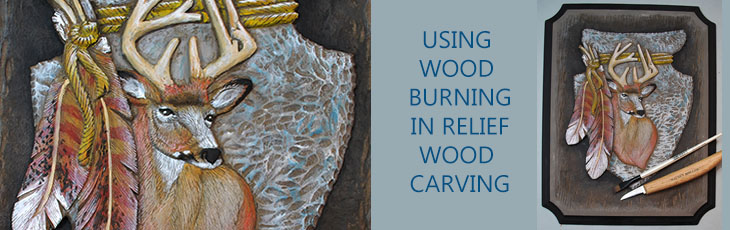
Wood Burning the Mule Deer Details
Dry Brush Painting – Mule Deer Relief Wood Carving Project
![]()
![]()

Relief Wood Carving Canada Goose Project
 Relief Wood Carving Canada Goose Project, Part One
Relief Wood Carving Canada Goose Project, Part Two
Relief Wood Carving Canada Goose Project Part Three
Relief Wood Carving Canada Goose Project Part Four
![]()
![]()
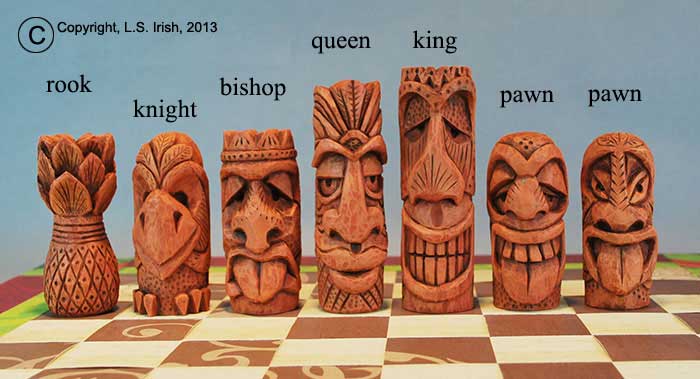

Tiki Chess Set, Beginner’s Carving Project
- More Relief Carving Projects
- Levels in Relief Wood Carving
- Introduction of Dramatic Shadows
- Undercutting Technique for Dramatic Shadows
- Level Changes and Floating Elements for Dramatic Shadows
- Dramatic Shadows Pattern Work
- Landscape Relief Carving
- Floral Clock
- Sailboat Relief Carving
- Woodcarving the American Hero
Country Snowman Wall Hanger - Wood Carving – American Heroes
- More Relief Carving Projects
![]()
![]()

![]()
![]()

![]()
![]()
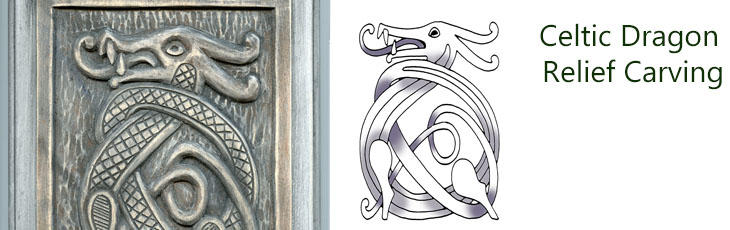
Wood Carving Celtic Dragon 3
Wood Carving Celtic Dragon 2
Wood Carving Celtic Dragon 1

![]()
![]()
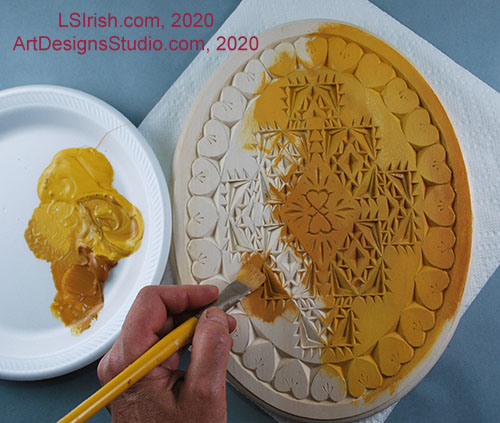
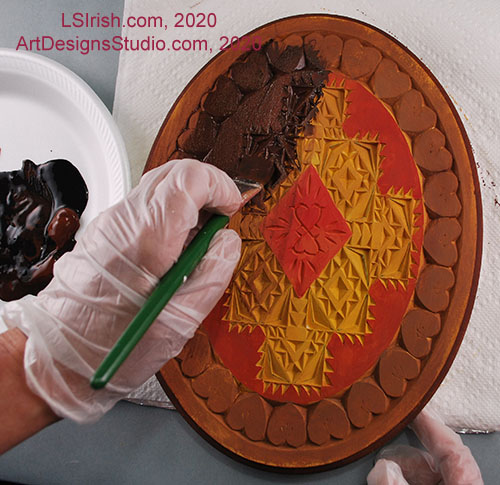
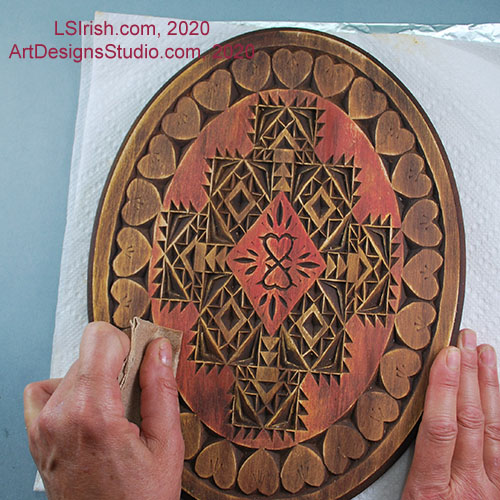
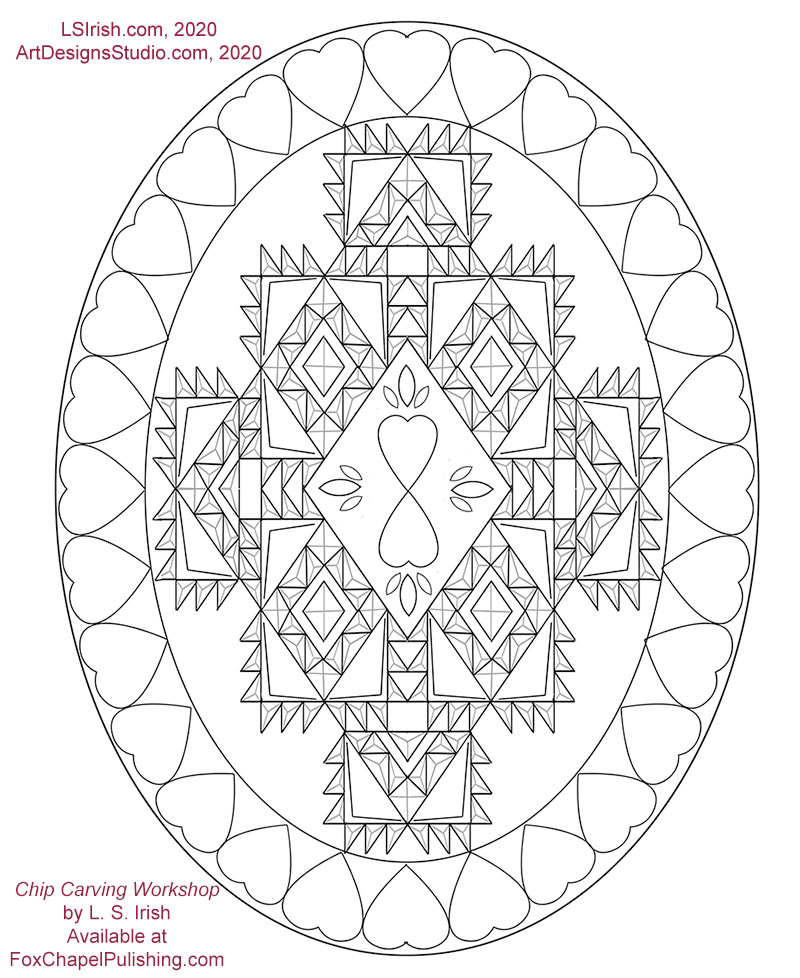
 Chip Carving
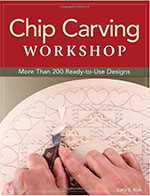
Free Chip Carving Wood Carving Pattern
Free Chip Carving Projects by L S Irish
Back to the Basics of Wood Carving
Chip Carving Common Mistakes
Chip Carving – Sampler Layout Pattern
Chip Carved Chess and Game Board
Chip Carving – Straight-Wall, Curve-Wall, Free Form
Chip Carving – Cutting Triangle and Square Chips
Chip Carving Hand Positions and Grips
Chip Carving Graphed Patterns
Chip Carving Supplies
Chip Carving Seminar
Free Chip Carving Pattern
Sharpening Your Chip Knives
Positive and Negative Space in Chip Carving
Chip Carving Shortbread Cookies
Sharpening Your Chip Knives
![]()
![]()

Carving the Relief Wood Spirit
Wood Grain with Acrylics and Oil Stain
Dry Brush and Rouging the Wood Spirit Face
![]()
![]() More Technique and General Instructions
More Technique and General Instructions


- Carving Session Preparation
- Determining The Depth Of The Levels
- Your First Carving Pattern

 Wood Carving A Simple Flower
 - Free Wood Spirit Carving Project
- Lora’s Wood Carving Tool Kit
- Free Wood Carving Santa Ornament Pattern
- Welsh Love Spoons
- First Carving Project
- Sharpening Your Wood Carving Tools


