
Cross-Crafting Seminar Introduction
Cross-Crafting Seminar Supply List
Cross-Crafting Seminar Free Patterns
Cross-Crafting Seminar, Scroll Saw Basics
Cross-Crafting Seminar, Scroll Sawing the Wood Spirit Face
Cross-Crafting Seminar, Wood Burning the Wood Spirit Face
Cross-Crafting Seminar, Colored Pencils for the Wood Spirit Face
 Step 22 Work the second side of the Wood Spirit face is the same manner as we have worked the first.
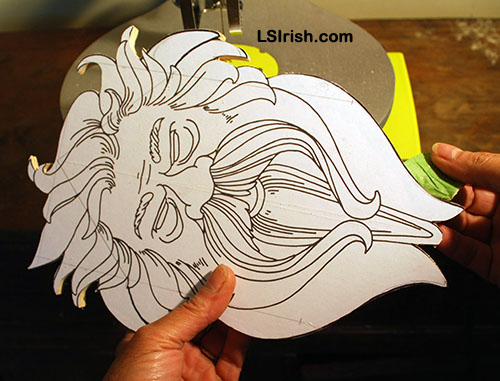 Step 23 Once the scroll saw project is completed turn off the saw, remove the Child’s Safety Plug, and unplug the saw … Always!!!!!
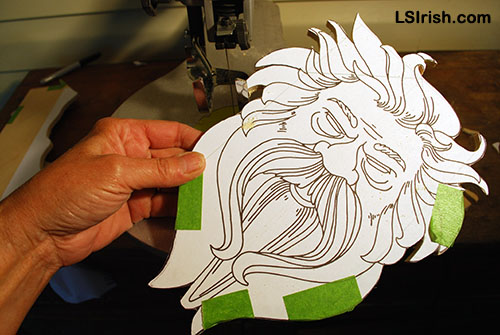
 Step 24 Remove the green painter’s tape. With your fingernail, bench knife, or paint palette knife lift on corner of your paper pattern away from the wood. Use that corner to gently lift the entire pattern paper off the cut piece.
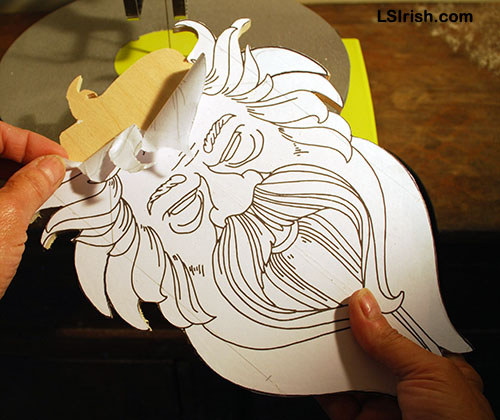
 Step 25 You now have two perfectly matching copies of the scroll saw cut Wood Spirit face. You are ready for sanding the edges, and deciding how you want to decorate – detail – your Wood Spirit.
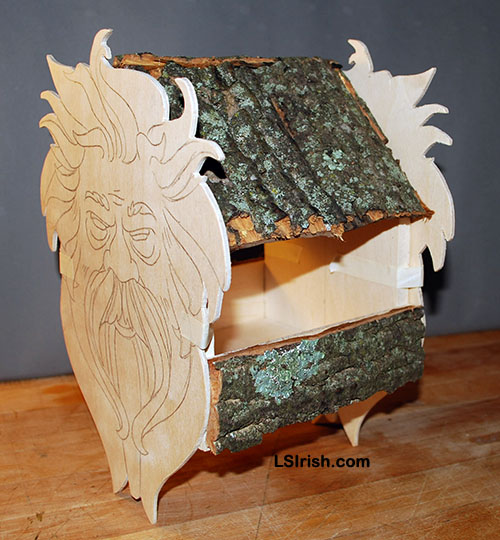 Step 26 Since this is a practice piece, just for the purpose of learning how to cut out an image or shape using your scroll saw, I really had no preconceived idea of what to do with my Wood Spirit once he was done.
Just for fun, I cut out a ‘quick and dirty’ little bird feeder using scrap birch plywood and scrap basswood that was in the studio. My Wood Spirits will decorate the end boards of the bird feeder once they are colored and sealed.
So … I am off to post the step-by-step on wood burning the facial features of my Wood Spirit and how to use colored pencils to detail him. See ya’ there.